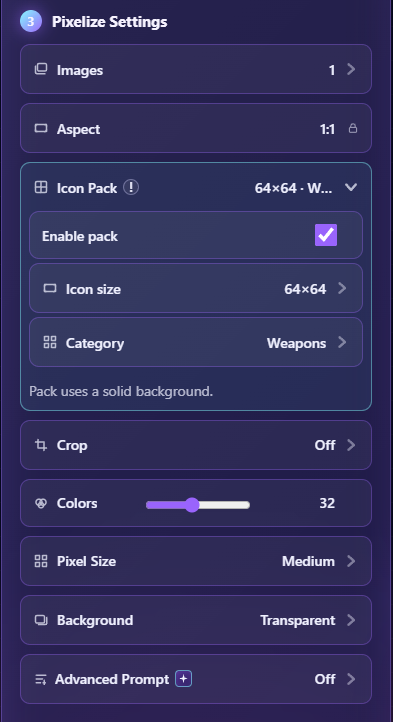
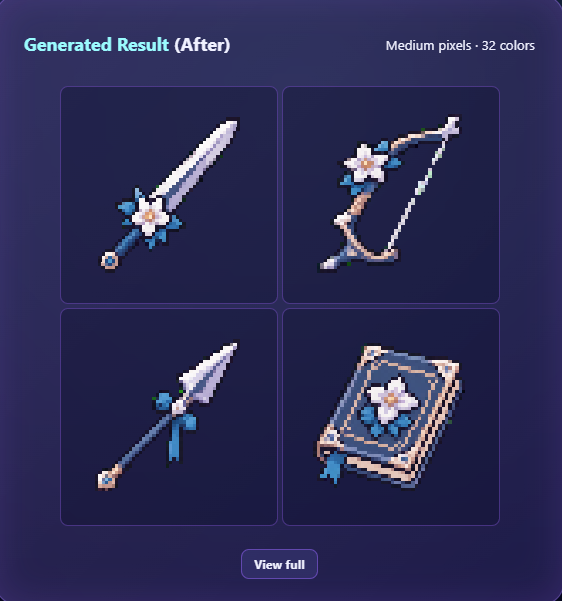
Looking for a tray of game item icons—weapons, potions, UI marks—is a different job from a single character redraw or a chat-face emote. Icon Pack is the AniPixel path for that tray: on Pixelize, pick the Icon preset, leave Pack on, spend 1 credit, and get 4 icons on the default 64 size option, or 16 if you switch to 32. The run returns a sliced set of small pixel icons meant for inventory-style use—not one soft full-canvas painting you still have to cut by hand.
For one readable tile without a pack, keep Icon and turn Pack off (preset overview). For a face avatar or Discord react, use the avatar or emote guides instead. Older soft exports can recover a true grid after the fact.
What you get (and what you pay)
| Size option | Grid | Icons per run | Credit cost | |-------------|------|---------------|-------------| | 64 (default) | 2×2 | 4 | 1 | | 32 | 4×4 | 16 | 1 |
History still stores one task. The detail view lets you swipe through each finished icon and download one cell or the whole set. The shared AI original is the uncut sheet.
Pack is built for items, not full characters. Use Portrait, Chibi, or Redraw when the subject is a person. Typical homes for these PNGs: inventory UI, shop grids, craft menus, and prop-style reacts. Treat the size option as the target look; always skim the preview before you ship a cell into a live build.
Step-by-step
- Open Pixelize and upload a source that suggests the style you want (palette, outline weight, mood). Pack borrows feel from that image; the category dropdown steers what kinds of objects fill the sheet.
- Choose the Icon preset. Pack turns on by default on the 64 size option.
- In the Pack fold, set Icon size (64 or 32) and Category (Weapons, Potions, UI icons, and other groups).
- Keep background on Transparent or a solid Color. Original background is disabled for Pack.
- Optionally add short item notes in Advanced (for example
1st: fire sword; 2nd: ice dagger). With Pack on, that box only adds item notes—it does not fully override the preset template. - Confirm Images stays at 1 (Pack locks this), check the credit note (1 credit · N icons), then generate.
- In Results, pick a cell, download its PNG, or download all when you need the tray.
Can I get several game item icons in one credit?
Yes—that is the point of Pack. One credit buys one sheet; you leave with 4 or 16 small icons (by size option), not four separate character charges. It is a same-run tray for one category, not a finished catalog for an entire game. If a 32 run looks uneven, regenerate on 64 with a tighter category and clearer numbered notes rather than stacking a long Advanced paragraph. For how these assets fit a wider game pipeline (single sprites, Fix Pixel Grid), see pixel art game sprites.
Choosing 64 vs 32
- 64 / 4 icons — safest default. Larger, usually cleaner. Prefer for inventory UI, store pages, and anything viewed above emoji size.
- 32 / 16 icons — denser sheet for prototyping a whole tray. Expect more variance; read the fold hint if the UI warns that output can look uneven.
Source and category tips
- Prefer a source with a clear pixel or illustration style you want the pack to echo. A busy photo of a real room is a weak style reference for item icons.
- Match Category to the sheet you want (Weapons vs Food vs UI). Category steers *object type*; it does not replace a good style source.
- Keep Advanced notes short and numbered. One idea per slot beats a paragraph.
- Transparent is usually best for game engines and sticker-style props. Use a solid color when you need a baked plate behind every icon. Broader transparent export tips: transparent pixel art PNGs.
Common mistakes
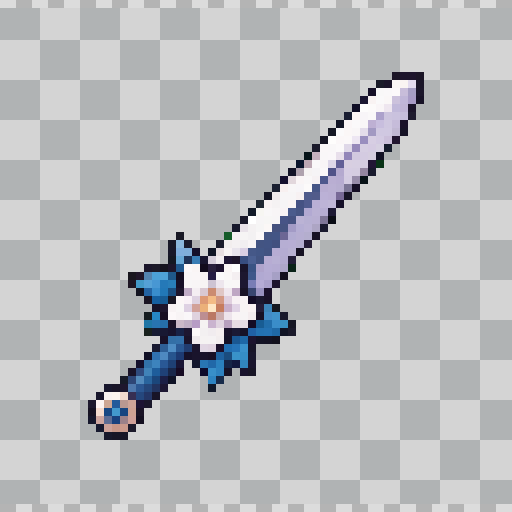
- Turning Pack off by accident — you get one Icon redraw, not a sliced set.
- Expecting character portraits — switch to Portrait or Chibi (avatar guide).
- Fighting the Images lock — Pack always produces one sheet / one credit; the N icons are cells of that sheet.
- Using Override while Pack is on — Override stays visible but disabled; use item notes instead, or turn Pack off to override presets.
- Skipping the preview — check hairlines and silhouettes on each cell before bulk-downloading.
Next steps
- Clean a single non-Pack export by removing the background.
- Recover or upscale a sprite grid when an older file is soft.
- Compare Icon vs other looks in Pixelize presets.