Remove Background lets you remove a background online for free — no credits, no sign-in, and your image stays in the browser. It works on photos, illustrations, and Pixelize results alike, and accepts JPG, PNG, or WEBP up to 10MB.
This guide focuses on getting a genuinely clean cutout: choosing the right cleanup strength, using Fine select where automatic detection struggles, and picking the export format that actually preserves transparency.
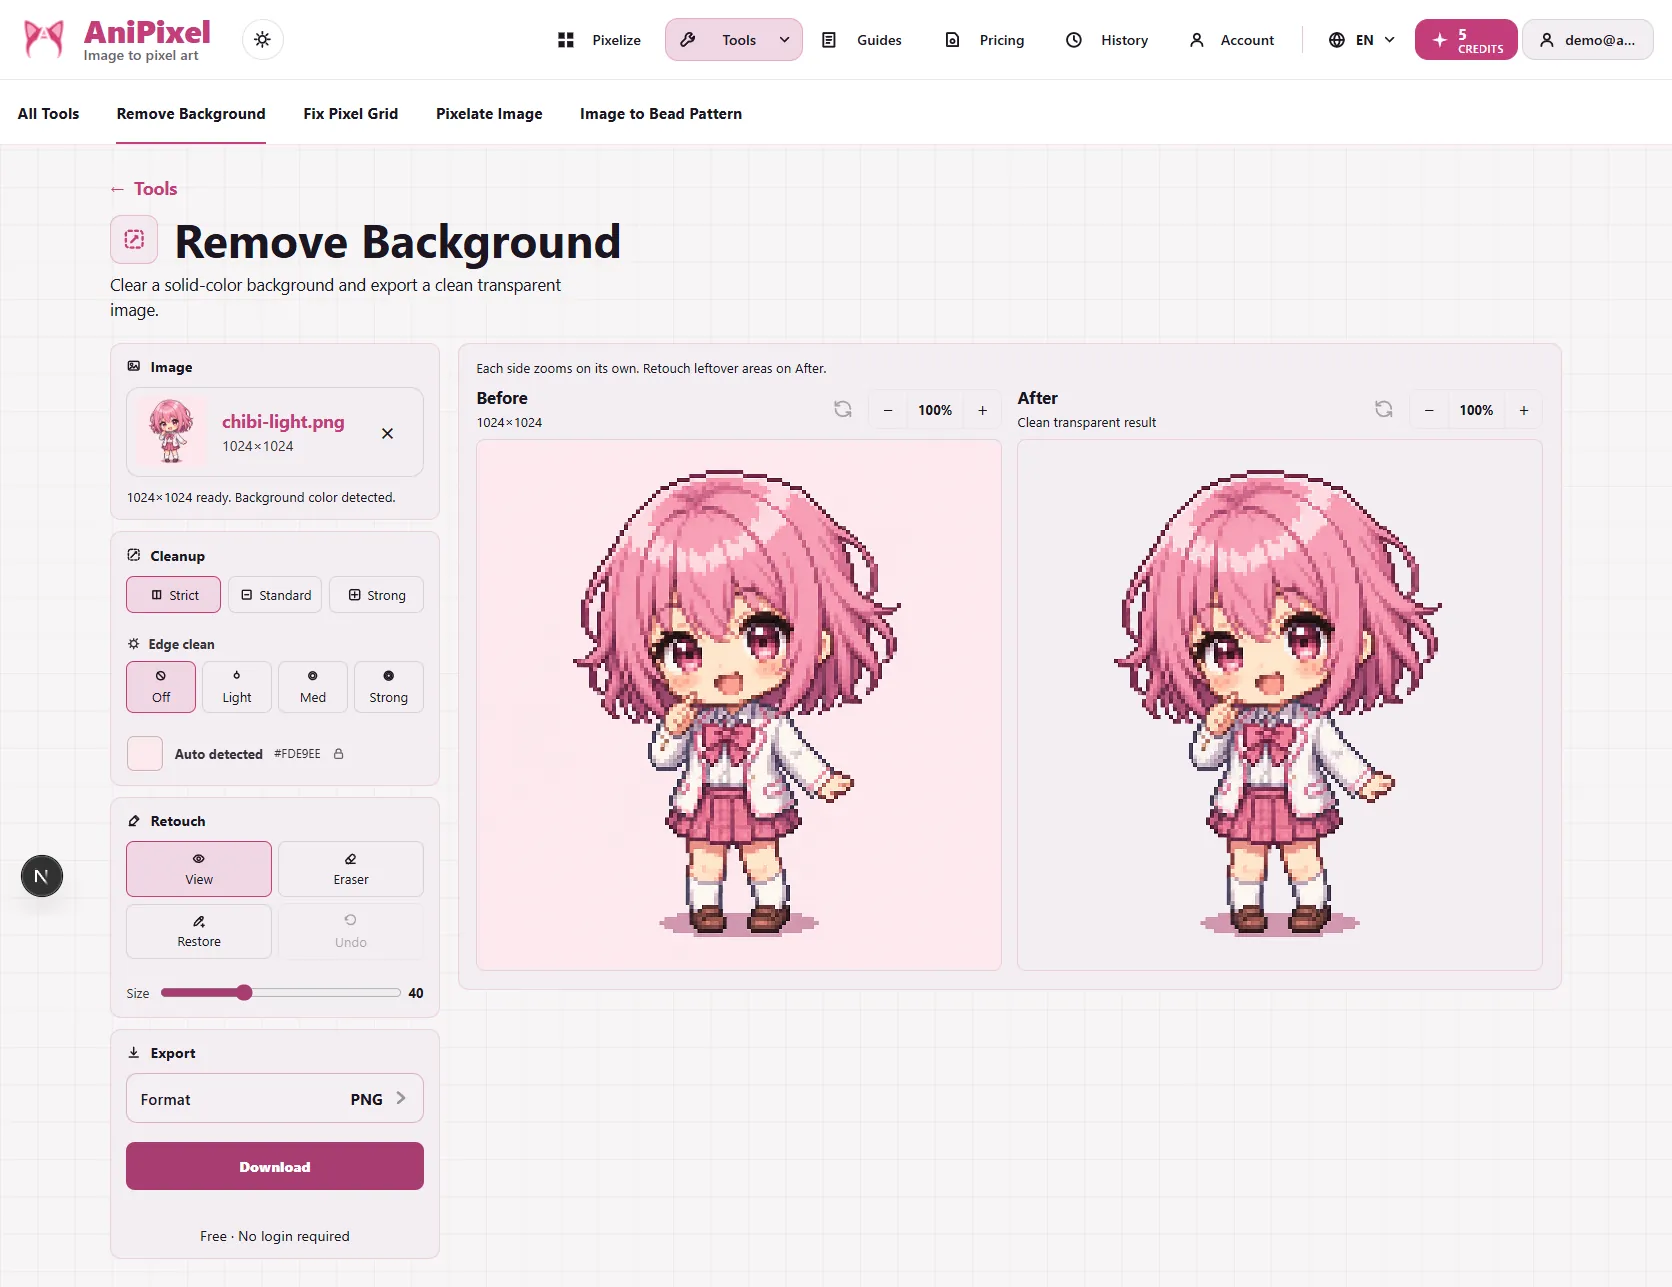
Open the tool
From the header choose Tools → Remove Background, or open the link above. You may also arrive from a Pixelize result when a flat background is detected — the tool opens with that image already loaded. For where this step fits after generation, see getting started with Pixelize.
The basic pass
- Upload — drop a file, browse, or paste from the clipboard.
- Preview — the before/after comparison appears; pan and zoom to inspect edges.
- Cleanup — pick a strength (below) and let the automatic cut run.
- Review — check what the tool detected as background.
- Refine — use Fine select and the eraser where the automatic result missed.
- Export — download as PNG, JPG, or WEBP.
For many images with a clearly separated subject, steps 1–3 and export are the whole job. The rest of this guide is for the images where they are not.
Which cleanup strength should you choose?
The Cleanup control decides how aggressively pixels near the detected background are removed:
- Strict removes the least. Choose it when the subject has fine outlines, thin props, or colors close to the background, and you would rather remove leftover fragments by hand than lose real edges.
- Standard is the right first attempt for almost everything. It balances removing halo pixels (halo = pale fringe left around cut edges by anti-aliasing/compression) against preserving edges.
- Strong removes the most. Choose it when Standard leaves a visible fringe or halo around the subject — common with soft-edged photos and anti-aliased illustrations.
A practical loop: run Standard, zoom into the hair and shoulder edges, then re-run with Strong if you see leftover fringe or with Strict if edges got eaten.
Fixing the edges the automatic pass missed
Automatic detection has predictable blind spots: hair wisps, semi-transparent fabric, thin props like swords or wires, and background colors that also appear inside the subject. That is what Fine select is for.
Mark a region or a same-color area and tell the tool to Remove or Keep it. Typical uses:
- Keep a prop the tool cut off because it extends far from the body.
- Remove a background patch trapped between an arm and the torso.
- Keep hair strands the cutout swallowed, then Remove the sky peeking between them.
Every action supports undo, so overshooting is cheap. For local touch-ups, switch the after-preview to Eraser / View mode and clean stray pixels directly. Busy backgrounds routinely need a few Keep/Remove passes to get a clean edge.
Does it work on pixel art?
Yes, and Pixelize output is close to the ideal input: AI pixel art usually has a flat or simple background and hard-edged subjects, so the automatic pass tends to be nearly perfect. Two pixel-art-specific notes:
- Do the cutout before shrinking to true sprite size in Pixel Art Scaler. At 1× sprite scale, each wrong pixel is a much larger fraction of the image.
- If a generated background looks flat but is subtly noisy (AI backgrounds often are), Standard or Strong cleanup handles the noise better than Strict.
Which export format keeps transparency?
- PNG — the default choice. Lossless and supports full transparency (Image file type guide, MDN); use it for stickers, overlays, avatars with transparent corners, and anything you will edit again.
- WEBP — also supports transparency, with smaller files; good for web use where PNG size hurts.
- JPG — no transparency. The removed area is filled with a solid color. A "transparent" export that shows up with a white box behind it was almost always saved as JPG. Only pick JPG when you explicitly want a flattened image.
Privacy and limits
The cutout runs locally in your browser: this tool does not upload your image to a server, and it needs no account. The 10MB limit applies per file; if a photo exceeds it, downscale a copy first — background removal does not benefit from extreme resolution anyway.
When this tool is the wrong one
- You want to generate pixel art — that is Pixelize.
- You want a background replaced inside the generation itself — Pixelize's background setting can render transparent or solid-color backdrops directly; see Pixelize settings explained. Generating with a transparent background often beats cutting out afterwards.
- You want to recover true sprite resolution or upscale without blur — that is Pixel Art Scaler.
Used together, the three tools form the full pipeline: generate, cut out, scale. Only the generation step spends credits.