Pixel Art Scaler is free, runs entirely in the browser, needs no sign-in and no credits, and accepts JPG, PNG, or WEBP up to 10MB. It has two independent jobs: upscale without blur that enlarges clean pixel art with crisp edges, and perfect pixel fix that restores AI fake pixels into true pixels.
Why does resizing pixel art usually ruin it?
Ordinary resizing interpolates — it estimates new colors between existing pixels (bilinear and bicubic are the common image-scaling methods). To make an image 150% larger, the editor invents in-between colors and turns crisp block edges into gradients. Pixel art lives on hard edges, so even a small stretch makes a sprite look smeared.
The safe way is integer scaling: multiply by a whole number (2×, 3×, 4×) with nearest-neighbor sampling so every source pixel becomes an exact square of the same color. No invented colors, no soft edges. Upscale without blur does exactly that; perfect pixel fix does it after first straightening the grid.
Capability 1: perfect pixel fix (Smart grid)
What is a fake pixel? What is a perfect pixel?
When AI draws pixel art at high resolution, each intended pixel is painted as a large block. Ideally every block would be exactly 16×16 screen pixels with a uniform color, but generation noise makes blocks wobble in size and shade. Zoom in and you will often see drifting grid lines and subtle gradients inside blocks.
That is a fake pixel grid. The image presents a 64×64 sprite but is a noisy 1024×1024 painting.
A perfect pixel restores the true logical grid: every block is aligned to where it should be, edges are straight, colors are solid, and the image looks as if it were actually laid out on a pixel grid.
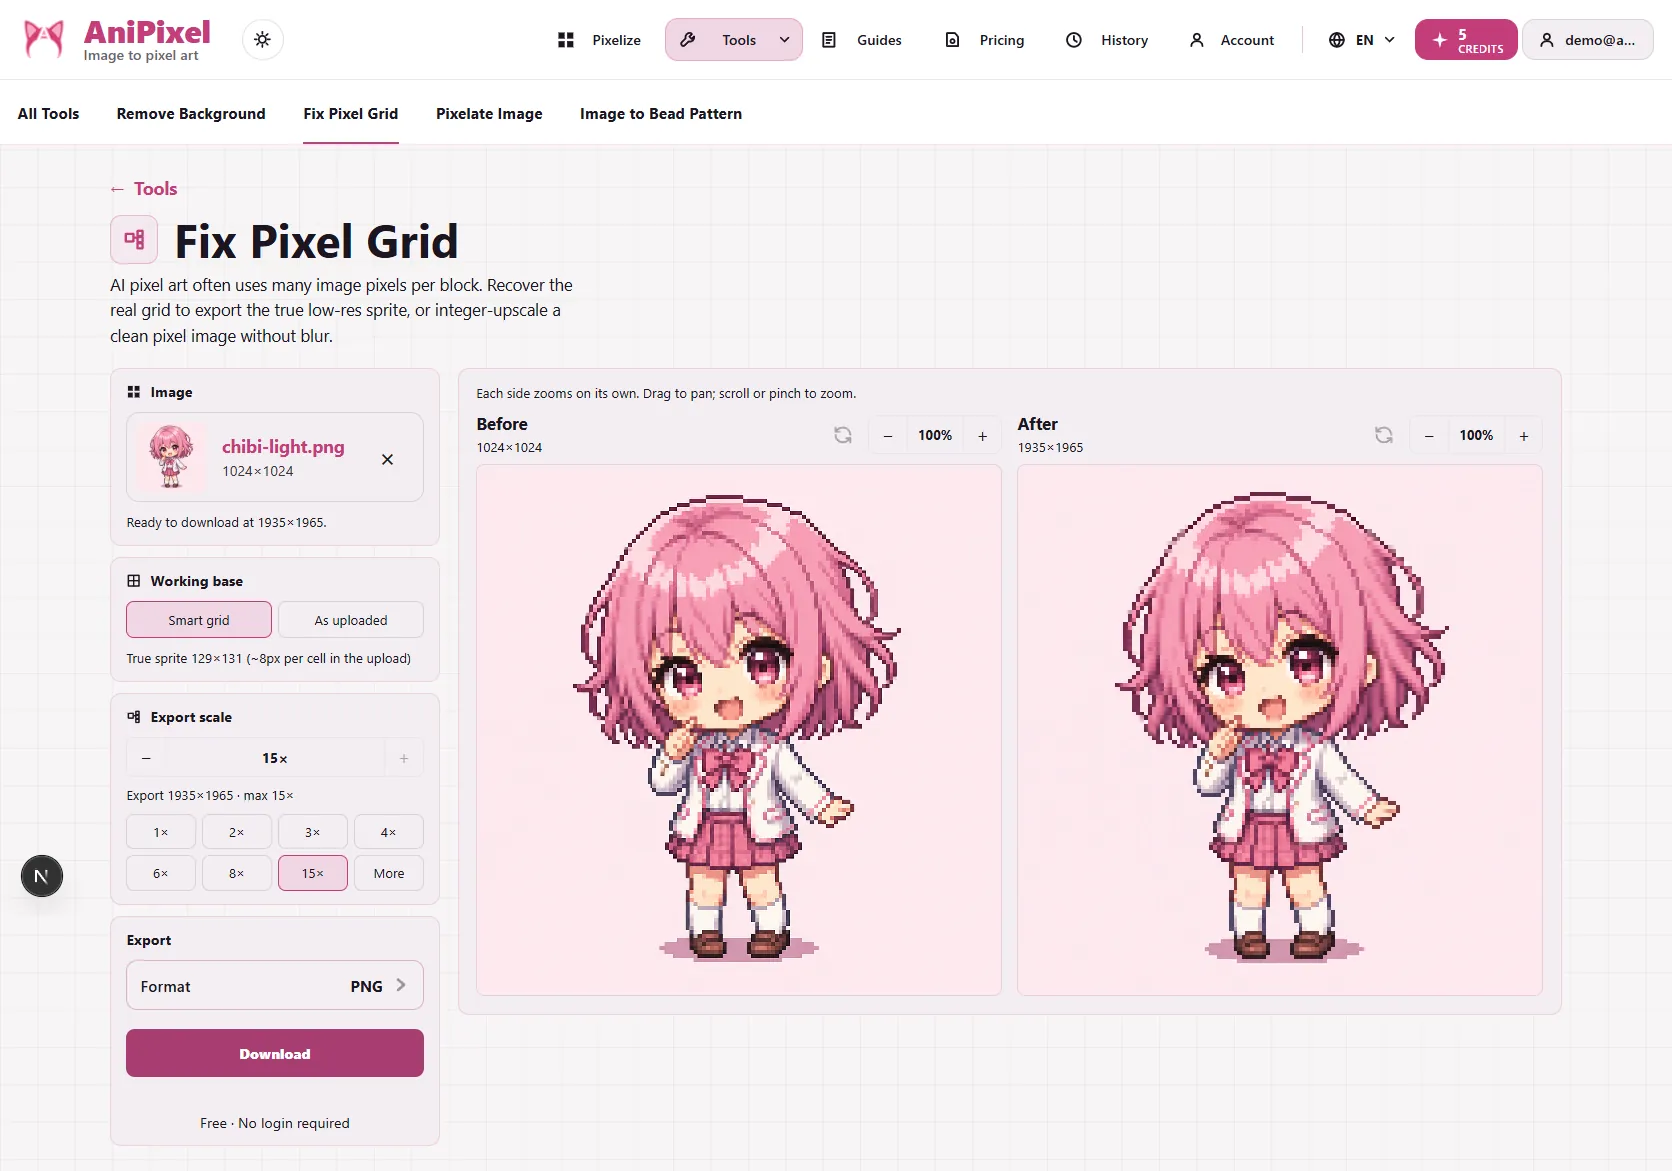
Smart grid finds that true grid for you. Upload an AI result and choose Working base → Smart grid — the tool analyzes repeating cell sizes, rebuilds the image at its true logical resolution (e.g., collapsing 1024×1024 into the genuine 64×64, one clean color per cell), and lets you verify the result in a Before / After preview.
- Export 1× to get the honest low-res sprite for editing or archiving.
- Export 2×/3×/4× on the same corrected grid for a crisp display copy.
The detection core is ported from the open-source project perfectPixel (MIT).
Capability 2: upscale without blur (As uploaded)
For pixel art that is already a perfect pixel — a 64×64 sprite you drew, or a file you already cleaned — you do not need grid detection.
Choose Working base → As uploaded to skip detection and treat the file's pixels as final. Then pick Export scale 2×/3×/4× to enlarge by an exact integer multiple. Every source pixel becomes a perfect square, no blur, no invented colors.
Use this whenever the source is already clean and you just need a larger, still razor-sharp copy for a wallpaper, post, stream overlay, or print.
How to choose: Smart grid or As uploaded?
| Your image | Use | Export |
|---|---|---|
| AI result, wobbly edges or mixed colors inside blocks | Smart grid | 1× for the perfect-pixel master, or 2×–4× for display |
| Already clean, true small pixel art | As uploaded | 2×–4× upscale without blur |
| Not sure | Start with Smart grid | Check Before / After, fall back to As uploaded if the grid looks wrong |
How to use it
- Open Pixel Art Scaler.
- Upload AI pixel art or a clean sprite, or open a Pixelize export directly.
- Choose Working base as above.
- Set Export scale — 1× is the base size; 2×, 3×, 4× produce crisp enlargements.
- Compare Before / After, then export as PNG, JPG, or WEBP.
The whole flow runs locally. The image is processed in the browser and this tool does not upload it to a server.
Which job needs a different tool?
Pixel Art Scaler sharpens and enlarges pixel grids. For photo-to-pixel-art redraws, use Pixelize. For transparent cutouts, pair it with Remove Background. For the full upload-to-download sequence, follow getting started with Pixelize.