The Chibi preset pushes a small-bodied, big-headed, deliberately cute remake. It is the right tool when you want exaggeration—stickers, playful avatars, gift art—and the wrong tool when you need the face to stay faithful. Output is locked to 1:1, and Detail becomes Pixel Size (Large / Medium / Small).
For the full preset map, see Pixelize presets. For a first studio walkthrough, see Getting started with Pixelize.
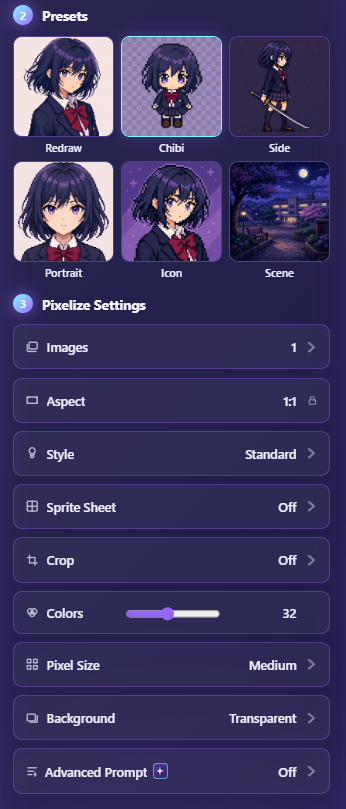
When to pick Chibi
Use Chibi when:
- You want a cute remake more than a likeness.
- The destination is stickers, emoji-adjacent posts, or playful profile art.
- A slightly toy-like silhouette is a feature, not a bug.
Skip Chibi when:
- The character must stay recognizable (use Redraw or Portrait).
- You need a wide banner or non-square canvas (Chibi locks 1:1).
- The source is already a tiny icon—use Icon or Icon Pack instead.
Settings that matter
- Upload a clear single character. Crop so the head and torso dominate the frame.
- Select Chibi.
- Start with Pixel Size → Medium. Move to Large for chunkier toy pixels; Small if facial marks keep vanishing.
- Prefer a simple or transparent background if you plan stickers later.
- Generate one image first. Judge the kind of look before burning credits on Colors.
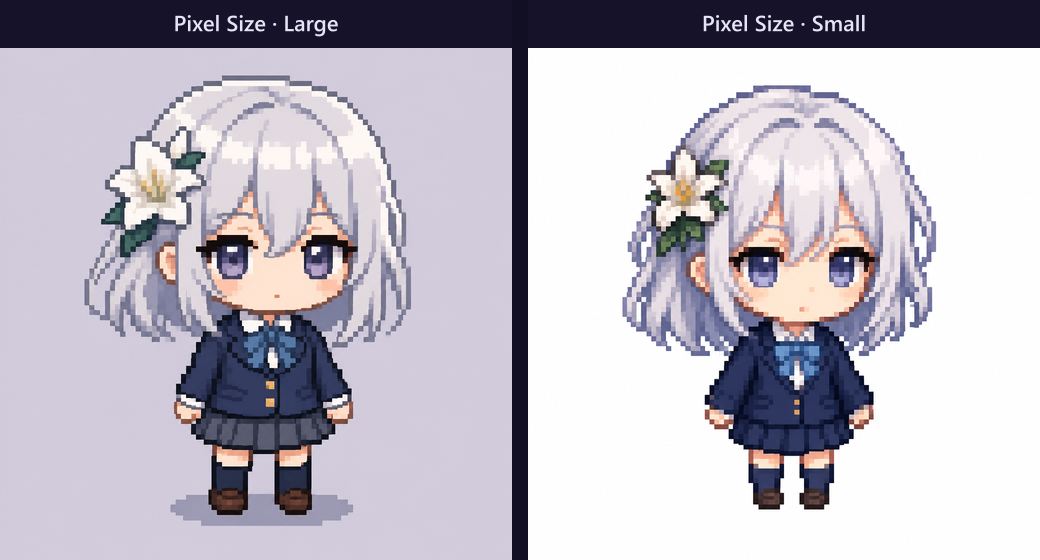
Source tips for chibi results
- Waist-up or full-body with a readable outline beats a distant group shot.
- Busy backgrounds compete with the exaggerated proportions—crop or remove them first.
- Asymmetric props may move; Chibi invents a new body plan on purpose.
After you download
- For stickers: Remove Background, then optional Fix Pixel Grid.
- Full sticker workflow: Pixel art stickers.
- If every run “doesn’t look like them,” switch preset—that is Chibi working as designed.