Turning an image into pixel art with AniPixel takes one short loop: upload an image, choose how you want it redrawn, generate, and download the result as a PNG. This guide walks through that full Pixelize workflow and explains the few decisions that make the biggest difference. Want to start immediately? Open Pixelize.
If you only want the same photo to become blocky, use Pixelate instead. If you are choosing between a filter, AI redraw, and a hand-drawn editor, start with What AniPixel is. For the shortest product path, open Pixelize.
AniPixel uses AI to redraw the source instead of applying a simple pixelation or mosaic filter. The AI reinterprets small details, colors, and shapes, so two generations from the same image can look different. The source sets the direction for the redraw, not a fixed frame that gets copied pixel for pixel.
The quick version
- Open Pixelize.
- Upload a JPG, PNG, or WEBP image up to 20MB.
- Start with the Redraw preset.
- Leave the default settings for the first generation.
- Choose how many results you want and check the credit total.
- Generate, compare the actual results, and download your favorite PNG.
These six steps are enough for a first image-to-pixel-art conversion. The sections below explain how to frame the source, change the preset, reduce the colors, remove a background, or generate another variation.
Before uploading: choose a useful source image
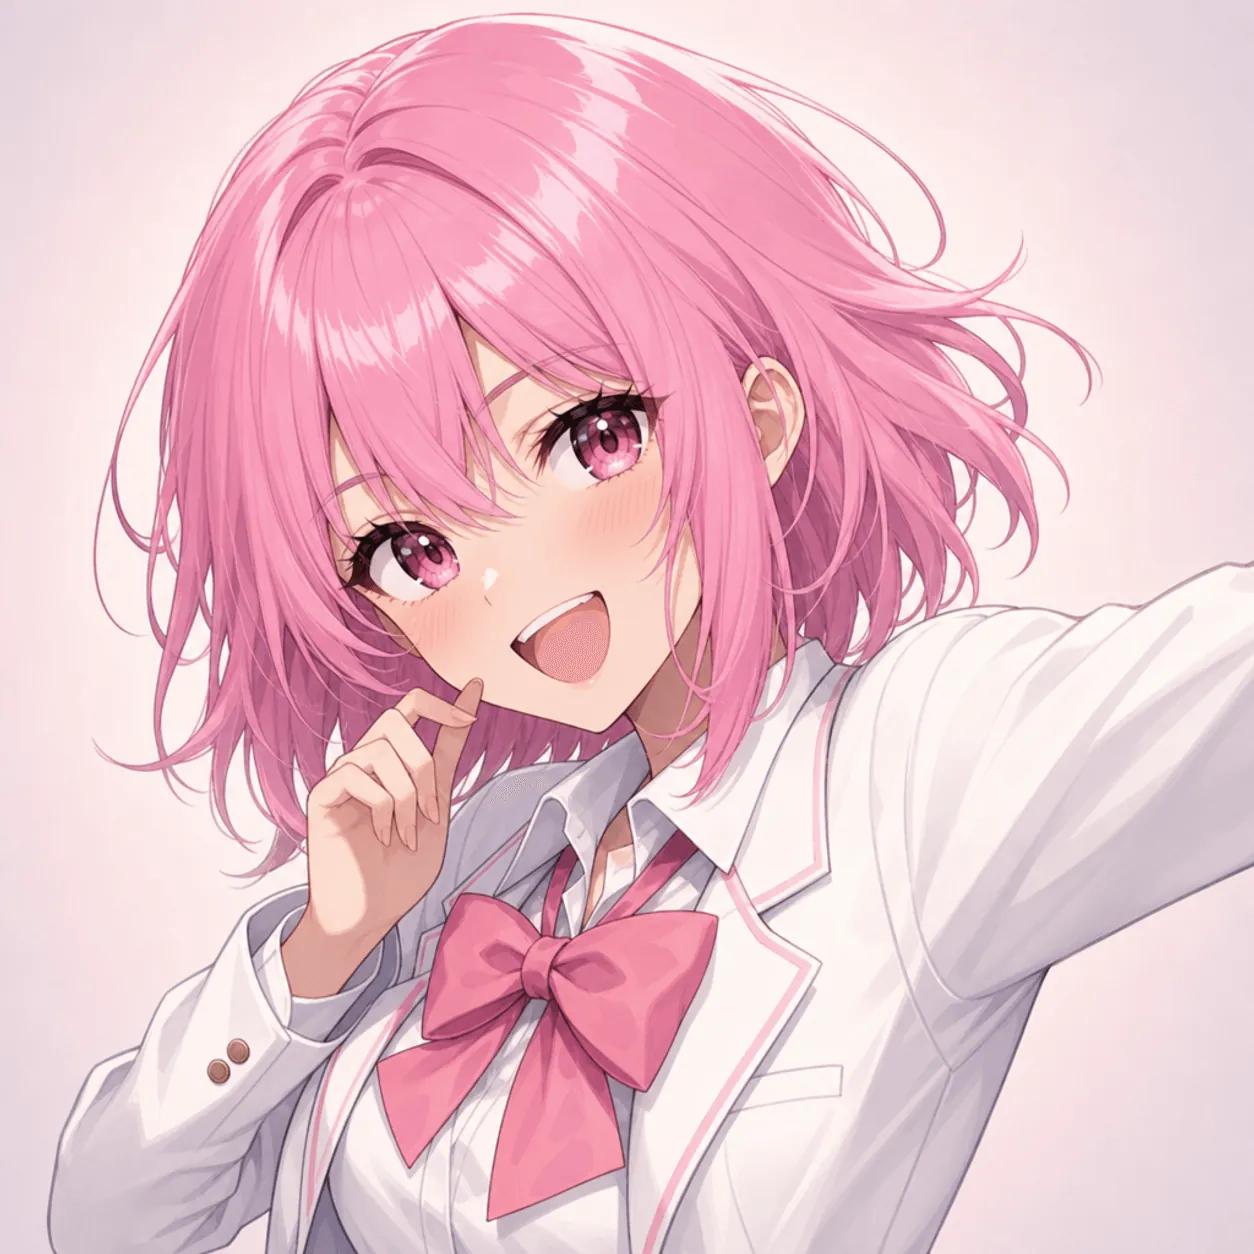
Pixelize can work with anime illustrations, portraits, photos, and other still images, but a readable source gives the AI clearer direction. For a first attempt, choose an image with one obvious subject, visible edges, and enough contrast between the subject and the background.
A waist-up character or head-and-shoulders portrait is easier to evaluate than a crowded group scene. You can immediately see whether the face, hair silhouette, clothing blocks, and overall composition survived the transformation. A wide environment can work too, but it asks the model to distribute detail across many more objects.
Good first inputs usually have:
- One main character or object.
- A subject large enough to recognize at a glance.
- Limited motion blur and compression artifacts.
- A background that does not overpower the subject.
- A crop reasonably close to the shape you want to export.
Do not spend time perfecting the source before you have tested it once. If the first result is too busy or the subject feels too small, return to the source and make one targeted change. The detailed checklist is in Better source images for Pixelize.
A privacy note for portraits and personal images
Only upload an image you own or have permission to use. If a photo shows another person, make sure they are comfortable with it being processed, and avoid private or sensitive portraits.
Pixelize sends uploaded images and related generation instructions to third-party AI providers. Generated outputs and task information appear in your account History: about 7 days free, 30 / 90 days on Basic / Creator, and long-term on Pro. Read the Privacy Policy and Terms of Service before using personal material.
Step 1 — Open Pixelize and upload the image
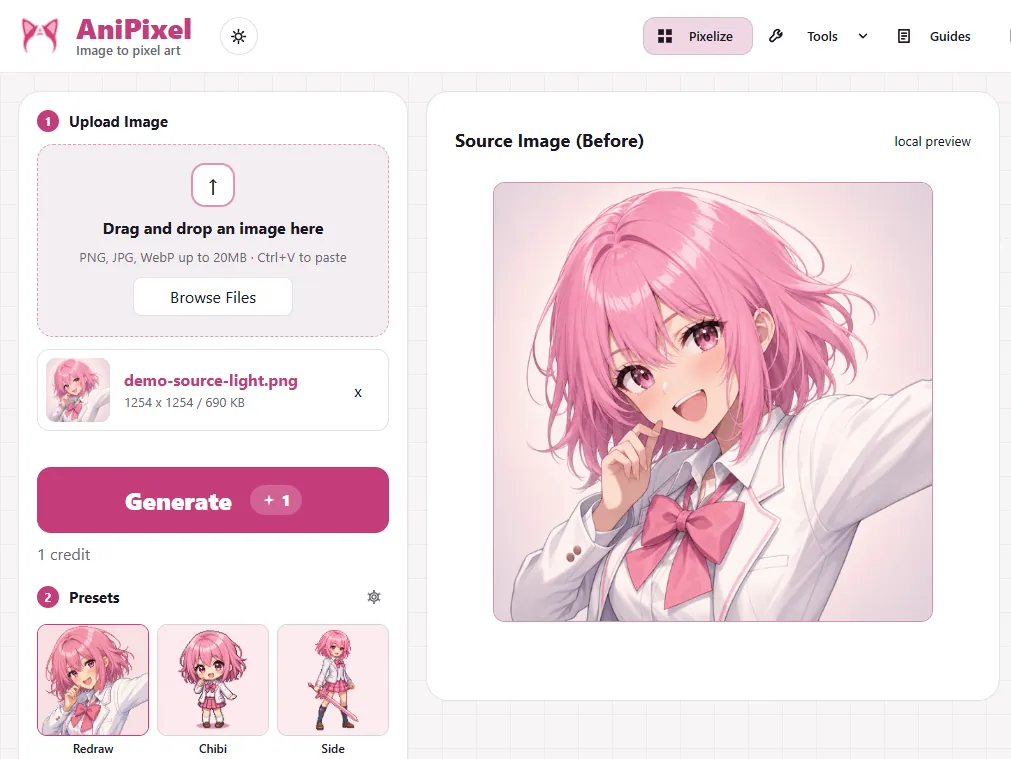
Open Pixelize. Add the source by dragging it into the upload area, clicking to browse, or pasting it from the clipboard. Pixelize accepts JPG, PNG, and WEBP files up to 20MB.
After the upload, check the preview before adjusting anything else. Confirm that the file is upright, the intended character is visible, and the framing matches the image you meant to select. If the wrong file was chosen, replace it now rather than tuning settings around it.
Step 2 — Choose the right Pixelize preset
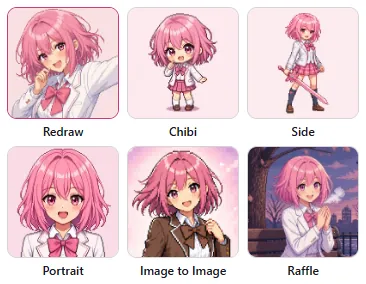
Presets tell Pixelize what kind of redraw you want. They are starting directions, not rigid templates.
- Redraw is the safest first choice. It aims to keep the source composition recognizable while converting the image into an AI pixel-art look.
- Portrait suits face-forward or bust-style images that may become avatars or profile graphics.
- Chibi pushes toward a smaller, more exaggerated character interpretation.
- Side is useful when you want a side or three-quarter character angle.
- Scene gives more attention to environments and backgrounds.
Start with Redraw unless you already know that the final use needs a square portrait or a scene. Changing several settings and the preset at the same time makes it harder to learn which choice caused the difference.
Square-focused presets such as Chibi, Side, and Portrait lock the output to 1:1. Redraw and Scene leave more room for other aspect ratios. Which preset to pick is in Pixelize presets. How each preset runs is in Pixelize presets explained.
Step 3 — Set the frame before styling the pixels
Aspect ratio controls the shape of the output. It affects composition more than small palette adjustments, so set it first. Pixelize uses your upload as-is and the AI adapts it to the ratio you pick — frame the subject in the source before uploading when you want to control what fills the canvas.
Use Auto for the first run when the source is already framed well. Choose a fixed aspect when you know the destination: 1:1 for a square avatar, a portrait ratio for a character card, or a wide ratio for a scene or banner concept.
If the new ratio would cut into the character, crop the source image in any photo editor so the subject sits where you want it, or switch back to a ratio closer to the source's shape. Keep the face, hair silhouette, and any important prop away from the edges of your crop.
Step 4 — Use simple settings for the first result
The defaults are intentionally usable. For a first image-to-pixel-art attempt, resist the urge to move every control.
The settings worth understanding are:
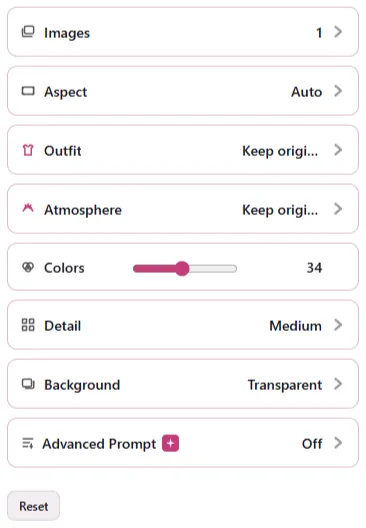
- Images chooses 1–4 variations. Each requested image costs one credit at the default Low Quality.
- Colors guides the palette from a compact 8-color look to a broader 64-color range.
- Quality is model generation strength (Low / Medium / High) on Redraw, Chibi, Side, Portrait, Scene, and Raffle. Most pixel art is fine on Low. Raising it is slower and uses more credits — the Generate button shows the actual charge.
- Background keeps the original backdrop, requests transparency, or uses a chosen solid color on supported presets.
For the first pass, generate one image with the defaults. This gives you a baseline. If the result feels too busy, try fewer colors. If important shapes feel oversimplified, try more colors. These controls guide an AI redraw; they do not lock every pixel to a mathematical grid.
The full visual explanation is in Pixelize settings explained.
Step 5 — Check the cost and generate
At Low (the default), each requested result costs one credit. Raising Quality uses more credits. If Images is set to 1 at Low, the run costs one credit; if it is set to 4, the run costs four. The Generate button shows the total before you start.
New accounts receive starter credits after sign-in. Failed generations refund the credit used by the failed result. The free Remove Background and Pixel Art Scaler tools do not use credits.
When the source, preset, frame, and image count look right, select Generate and wait for the result panel. Do not refresh the page while the task is processing.
Step 6 — Judge the result in the right order
When the generated image appears, evaluate the large decisions before inspecting tiny pixels:
- Is the subject immediately recognizable?
- Does the framing suit the intended use?
- Is the silhouette readable at a smaller viewing size?
- Do the main color groups feel balanced?
- Is the background helping or distracting?
- Only then, does the pixel detail feel too coarse or too fine?
This order prevents unnecessary retries. A different color count cannot repair poor framing, and raising Quality cannot rescue a subject that occupies too little of the frame.
If the composition works but you want another interpretation, use Regenerate with the same setup. Regeneration spends credits again. If the composition is wrong, adjust the framing, aspect, or preset before generating another result.
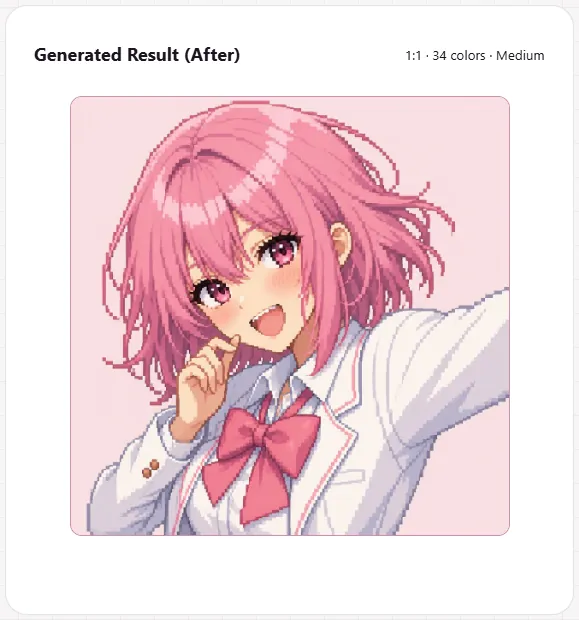
Step 7 — Download the PNG
Choose Download PNG on the result you want to keep. PNG is the best default for pixel-style edges and is required when the result contains real transparency.
If you generated several images, focus each result and download only the versions you want. Signed-in generations also appear in History while they remain within your account’s retention window, but important files should still be saved locally.
Use a practical file name such as demo-character-redraw-01.png. Include the subject, preset, or version number so later comparisons do not become a folder of indistinguishable downloads.
Optional next step — clean the background or pixel grid
A Pixelize PNG may already be ready for an avatar, social post, wallpaper experiment, or personal project. It can also be a starting point for a small sprite concept or game-themed graphic, but AI output should be reviewed and edited for the requirements of any larger project.
Two free browser tools can help with the next step:
- Remove Background can clear a flat backdrop and export a transparent cutout.
- Pixel Art Scaler can recover a smaller logical pixel grid from an AI pixel-style image or enlarge a clean sprite at an integer scale without ordinary resize blur.
Only Pixelize uses AI generation credits. These cleanup tools run locally in the browser and use no credits.
Common first-run problems
The character is too small
Crop the source closer to the subject, or switch from a wide composition to a portrait or square ratio. Do this before changing colors.
The result is busier than expected
Try a cleaner source crop, fewer colors, or a preset focused on one subject. A complex source background can compete with the character.
The result does not match every source detail
Pixelize is an AI redraw, so variation is expected. Keep the best composition, then regenerate for another interpretation or adjust the prompt if you have VIP Advanced Prompt access. Do not rely on it to reproduce text, logos, or intricate accessories exactly.
The transparent background is imperfect
Download the PNG and open it in Remove Background. Use the cleanup and Fine select controls to correct areas that should be kept or removed.
The pixels look soft when enlarged
Normal photo resizing blends neighboring pixels. Use Pixel Art Scaler and choose an integer export scale for a crisp larger copy.
Start your first image-to-pixel-art conversion
You now know the complete AniPixel flow: prepare a readable source, upload it to Pixelize, start with one preset and simple settings, generate one result, evaluate the composition, and download the PNG. Try the process with your own permitted image, then change one setting at a time to learn what gives you the look you want.