Aspect ratio decides the shape of the frame your pixel art is generated into. Crop decides which part of the upload fills that frame. Together they control composition — and composition problems are the ones no color or detail setting can repair afterwards. Both live in the settings column on Pixelize.
This guide covers the decisions: when to trust Auto, when a fixed ratio is worth it, when cropping beats not cropping, and what the framing warning is actually telling you.
How aspect and crop interact
Think of it as two questions asked in order:
- What shape is the canvas? — the aspect ratio (Auto, a fixed ratio, or VIP Custom).
- What goes on the canvas? — the crop (Off, Center, or Manual).
If the source shape and the output shape match, the second question barely matters. The interesting cases are mismatches: a tall phone photo into a square avatar, a wide illustration into a 9:16 wallpaper. Then something must be cut or reframed, and choosing what is the difference between a deliberate composition and a lucky one.
When is Auto the right choice?
Auto picks a ratio that fits your image and the current preset. It is the right default in two situations: your first generation from a new source, when you have no framing opinion yet; and any time the source's own shape is already the shape you want to keep.
Auto is a fit-the-source strategy, not a read-your-mind strategy. The moment you know the destination — an avatar slot, a banner, a wallpaper — stop letting the source decide and set the ratio yourself.
Choosing a fixed ratio
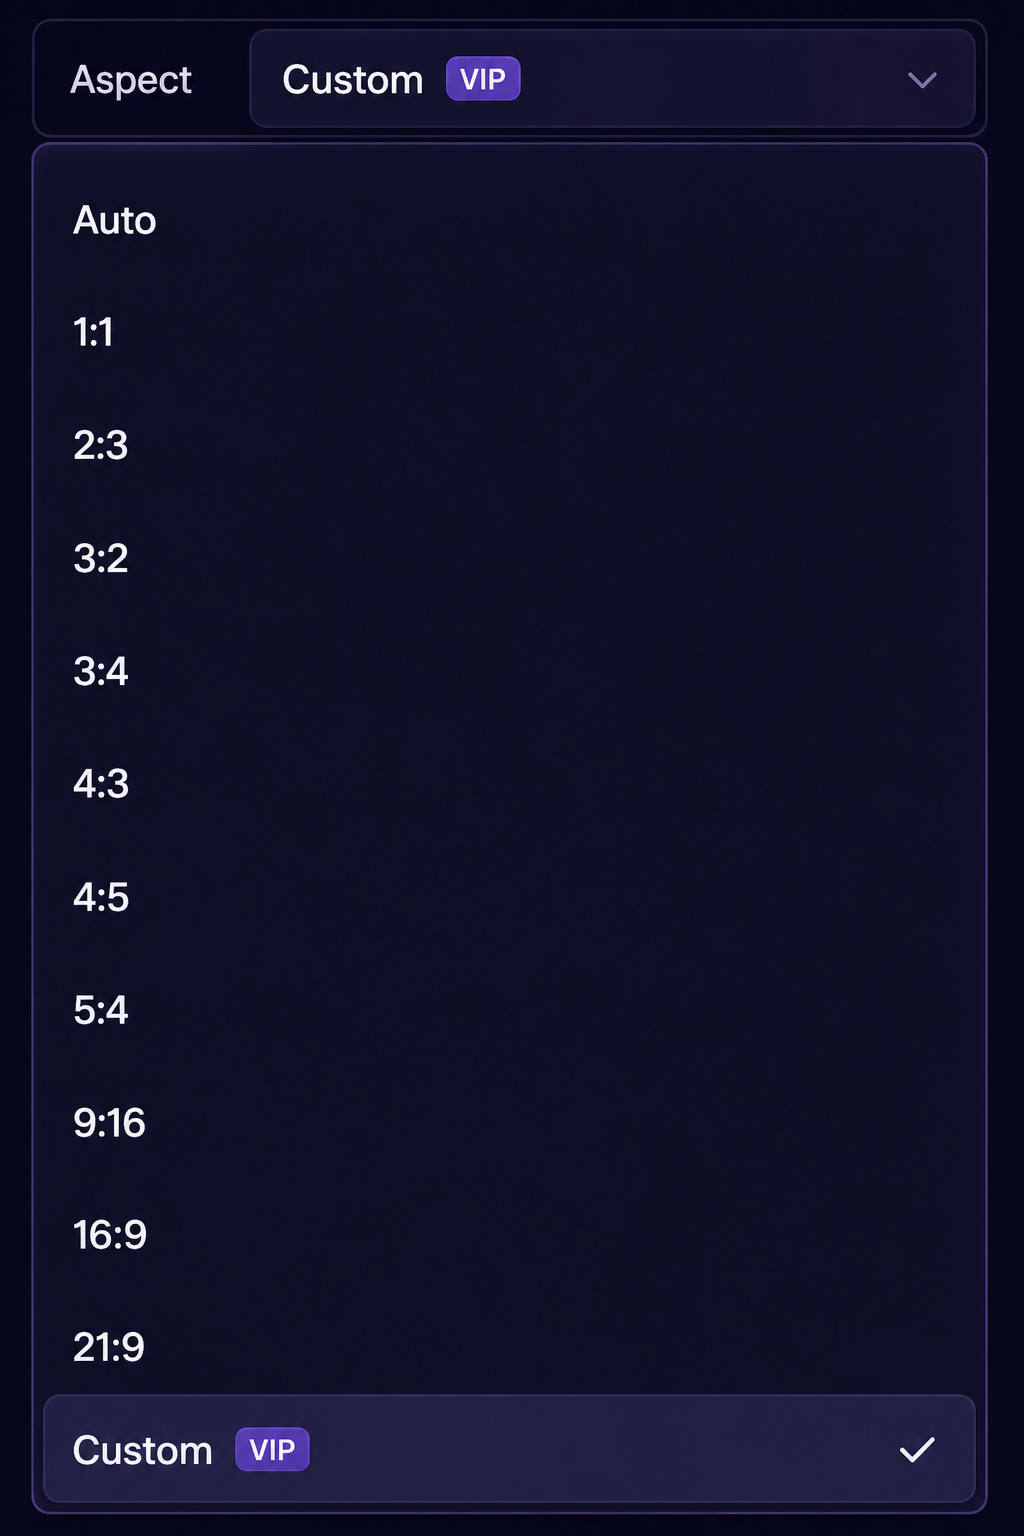
Fixed ratios (1:1, 2:3, 3:2, 3:4, 4:3, 4:5, 5:4, 9:16, 16:9, 21:9) are destination-driven. Pick by where the image will live:
- 1:1 — avatars, icons, most social profile slots.
- 2:3 / 3:4 / 4:5 — portrait-oriented character art and phone-first posts.
- 3:2 / 4:3 / 5:4 — classic landscape framing for scenes with a subject.
- 9:16 — phone wallpapers and story formats.
- 16:9 / 21:9 — desktop wallpapers, banners, wide scenes.
Two notes from the presets side: the square presets (Chibi, Side, Portrait, Icon) lock output to 1:1, so the aspect menu applies to Redraw and Scene — see Pixelize presets. And Custom, which accepts an exact width and height, is a VIP feature covered in VIP custom size and Advanced Prompt.
When should you crop at all?
Leave crop Off when the whole upload should stay visible and the output ratio is close to the source's. Turn it on when either of these is true:
- The subject is off-center or small. A character standing at the edge of a wide shot becomes a stronger source when you crop to put them in the frame deliberately.
- You changed the ratio. Going from a 3:4 source to a 1:1 output means something gets cut; crop lets you decide it is the empty floor, not the top of the head.
Center crop is the quick option: it keeps the middle of the image and trims the edges evenly. It works when the subject already sits near the center. Manual crop is worth the extra seconds whenever the subject does not — you drag the frame yourself, and what you see is what the AI receives.
A useful habit: after setting a manual crop, glance at the preview as if it were a thumbnail. If the subject reads clearly at a glance, the AI gets the same clarity.
Cropping as subject-scale control
Crop is not only for shape mismatches — it is the main tool for making a subject larger in the frame. A face that occupies a tenth of the source becomes a face that occupies half of the cropped frame, and the generation has far more room to spend pixels on features instead of empty background.
If your results keep coming back with mushy faces or vanishing details, tighter cropping is usually a better fix than raising detail settings. The broader source-quality checklist is in better source images.
What does the framing warning mean?
If the output aspect does not match the source and no crop is set, Pixelize shows a gentle warning before you generate. It is not an error: generation will proceed, and the model will reframe your image into the target shape its own way.
Read it as: "you have delegated the framing decision to the AI." Sometimes that is fine — Auto reframing of a scene often works. For character work, prefer answering the warning: either set a crop so you choose what survives the shape change, or switch the ratio back to something closer to the source.
Destination cheat sheet (shape first, then crop)
Pick the shape for where the image will live, then crop so the subject fills that shape. Pixelize does not need the final pixel dimensions of Discord or a phone — those apps resize again. Your job is a sharp master PNG with the right composition.
- Profile avatar (most apps) → 1:1 · Portrait or Icon · Manual crop head-and-shoulders · judge at thumbnail size.
- Emoji-style / tiny server icon → 1:1 · Icon · Manual crop to a bold silhouette · fewer colors if it turns to noise · optional Transparent background.
- Phone wallpaper / story → 9:16 · Redraw or Scene · Manual crop so the subject sits in the vertical frame.
- Desktop wallpaper / banner → 16:9 or 21:9 · Redraw or Scene · crop only to remove empty margins.
- Tall character post → 2:3, 3:4, or 4:5 · Redraw · crop Off if the source is already tall; Manual if the subject is off-center.
- Exact width × height for a slot → VIP Custom aspect · see VIP custom size.
After download, if you need a larger crisp copy without blur, use Fix Pixel Grid with integer scale — do not stretch with a normal image editor.
Quick decisions
- First try with a new image → Auto, crop Off.
- Avatar from a larger illustration → 1:1, Manual crop to head and shoulders.
- Phone wallpaper from a landscape source → 9:16, Manual crop around the subject.
- Subject small in a busy shot → keep the ratio, Manual crop tighter.
- Exact canvas size required → VIP Custom, see VIP custom size.
Framing settled, the rest of the controls — colors, detail, background — are covered in Pixelize settings explained.