A better source image gives Pixelize a clearer visual problem to solve. Before uploading, use this short check: choose one clear subject, make it large enough to recognize, separate it from the background, crop for the destination, and then test one generation. A casual photo or a rough sketch works fine as long as it passes this checklist.
This guide explains how source choice affects an AI image-to-pixel-art result. It does not promise that a particular detail will survive generation: Pixelize redraws the image with AI, so each output can interpret hair, clothing, expressions, and backgrounds differently. The goal is to give the model strong visual direction and reduce avoidable retries.
Quick source checklist
- One subject: start with one character or object unless the scene itself is the subject.
- Large enough: the face, silhouette, or important object should still read at thumbnail size.
- Clear separation: avoid a background with the same colors or brightness as the subject.
- Destination crop: frame the source for an avatar, icon, portrait, or scene before changing small settings.
- Test once: fix obvious blur or clutter, then generate one baseline before doing elaborate restoration.
What makes an image easier to turn into pixel art?
Pixel art communicates with simplified shapes and grouped colors. Even when AI performs the redraw, a clear silhouette and deliberate composition remain more useful than raw resolution alone.
The strongest source usually has four qualities:
- A clear focal point: the viewer knows which character or object matters.
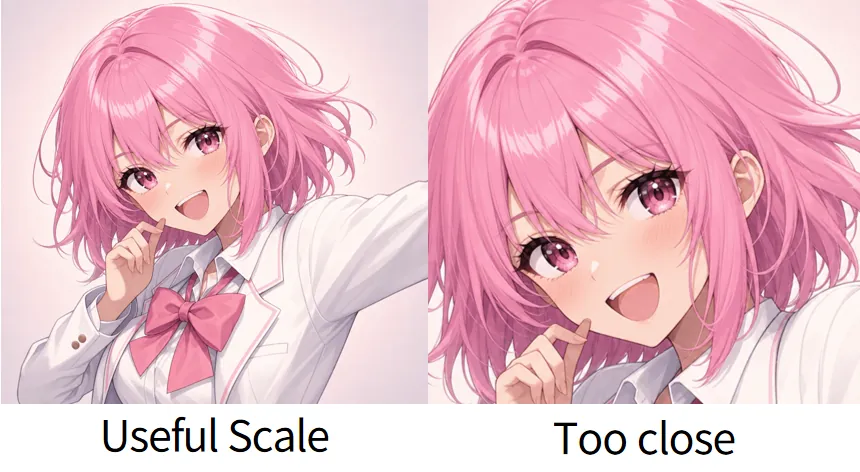
- Useful subject scale: the important features occupy a meaningful part of the frame.
- Readable separation: the subject does not disappear into a background with the same values and colors.
- Intentional framing: the source already resembles the portrait, icon, or scene you want to create.
These qualities matter more than whether the file came from a phone camera, an illustration app, or another image generator.
1. Make the main subject obvious
Start with one character when learning Pixelize. Group images, crowded action scenes, and compositions filled with overlapping props give the AI many competing details. A single subject lets you judge the conversion more clearly.
Look at the image at thumbnail size. If you can still recognize the pose and silhouette, it is a promising source. If the face becomes a dot or the character blends into the environment, crop closer before uploading.
This does not mean every source must be a close-up. A full-body character can work when the body occupies most of the frame and the pose has a readable outline. A scene can work when the environment itself is the subject. Match the source to the intended result rather than forcing every image into a portrait.
2. Prefer clean edges over extreme resolution
Pixelize accepts JPG, PNG, and WEBP files up to 20MB. A reasonably sized, sharp source is usually enough. Uploading an enormous image does not guarantee a better result, and an extremely small image cannot provide details that are no longer present.
Check the subject at 100% zoom before uploading. Avoid sources with:
- Strong motion blur across the face or silhouette.
- Heavy JPEG compression artifacts (blocking) around hair, eyes, or line art.
- Screenshots enlarged from tiny thumbnails.
- Watermarks or overlaid text crossing the subject.
- Oversharpening that leaves a light halo along every edge (over-applied sharpening brightens a rim around objects — Unsharp masking, Wikipedia).
If your only copy is slightly soft, test it once before applying complicated restoration. AI redraws can sometimes interpret a usable composition even when the source is not perfect. Fix obvious damage, not invisible imperfections.
3. Reduce background competition
A busy background can be appropriate for the Scene preset, but it may compete with a portrait subject. Repeated lines, high-contrast signs, crowds, and objects crossing behind the head can all become part of the AI interpretation.
For character-focused results, choose a source with a simple backdrop when possible. Try the original image first. If the result stays cluttered, use a tighter crop, request a transparent or solid background in Pixelize, or clean the downloaded PNG with Remove Background.
Background and subject should also differ in brightness (what artists call value — how light or dark a color is, independent of its hue; Lightness, Wikipedia). Pink hair against a similarly light pink backdrop can still blur together at the silhouette. A clean contrast at the edges gives the model a clearer structure to work from, and makes the output easier to judge.
4. Crop for the destination
Think about where the finished image will appear. A square avatar, portrait card, wide header, and environment concept each need a different composition.
For an avatar or profile image:
- Keep the face near the visual center.
- Leave a small margin around the hair.
- Avoid putting important features directly on the crop edge.
- Use a square preset such as Portrait, or choose a 1:1 aspect.
For a character post or card:
- A 4:5 or 3:4 portrait frame can keep more clothing and pose information.
- Make sure the hands or props are either clearly included or intentionally outside the crop.
- Avoid accidental cuts at fingers, wrists, and feet.
For a scene:
- Keep enough space to establish the environment.
- Choose a horizon and focal area that remain readable when reduced.
- Use Scene when the place matters as much as—or more than—the character.
Pixelize provides Auto and fixed ratios for the shape; you crop the source yourself before uploading. Learn the exact controls in Aspect ratio in Pixelize.
5. Match the source to the preset
The source and preset should point in the same general direction.
- Use Redraw when you want to keep the uploaded composition as the main reference.
- Use Portrait for a head-focused or bust-style character image, including tiny profile tiles.
- Use Chibi when you welcome a more exaggerated character interpretation.
- Use Side for a side or three-quarter character direction.
- Use Scene when the location and background are central to the image.
A preset can reinterpret the source, but it cannot make every composition equally suitable. An extremely wide group scene is still a difficult starting point for a compact square avatar. When the first output is disappointing, ask whether the source and preset are solving the same visual problem before changing smaller settings.
See Pixelize presets explained for all preset behavior.
6. Use color and contrast intentionally
Pixel art is built on a limited palette: colors are grouped into flat blocks instead of smooth gradients. Sources with one clear light direction and distinguishable clothing, skin, hair, and background tones are easier to simplify.
An input made entirely of similar pale tones still produces less separation than one with a few clearly different brightness levels. Pixelize's Colors slider can only group existing colors; it cannot invent contrast that the source never had.
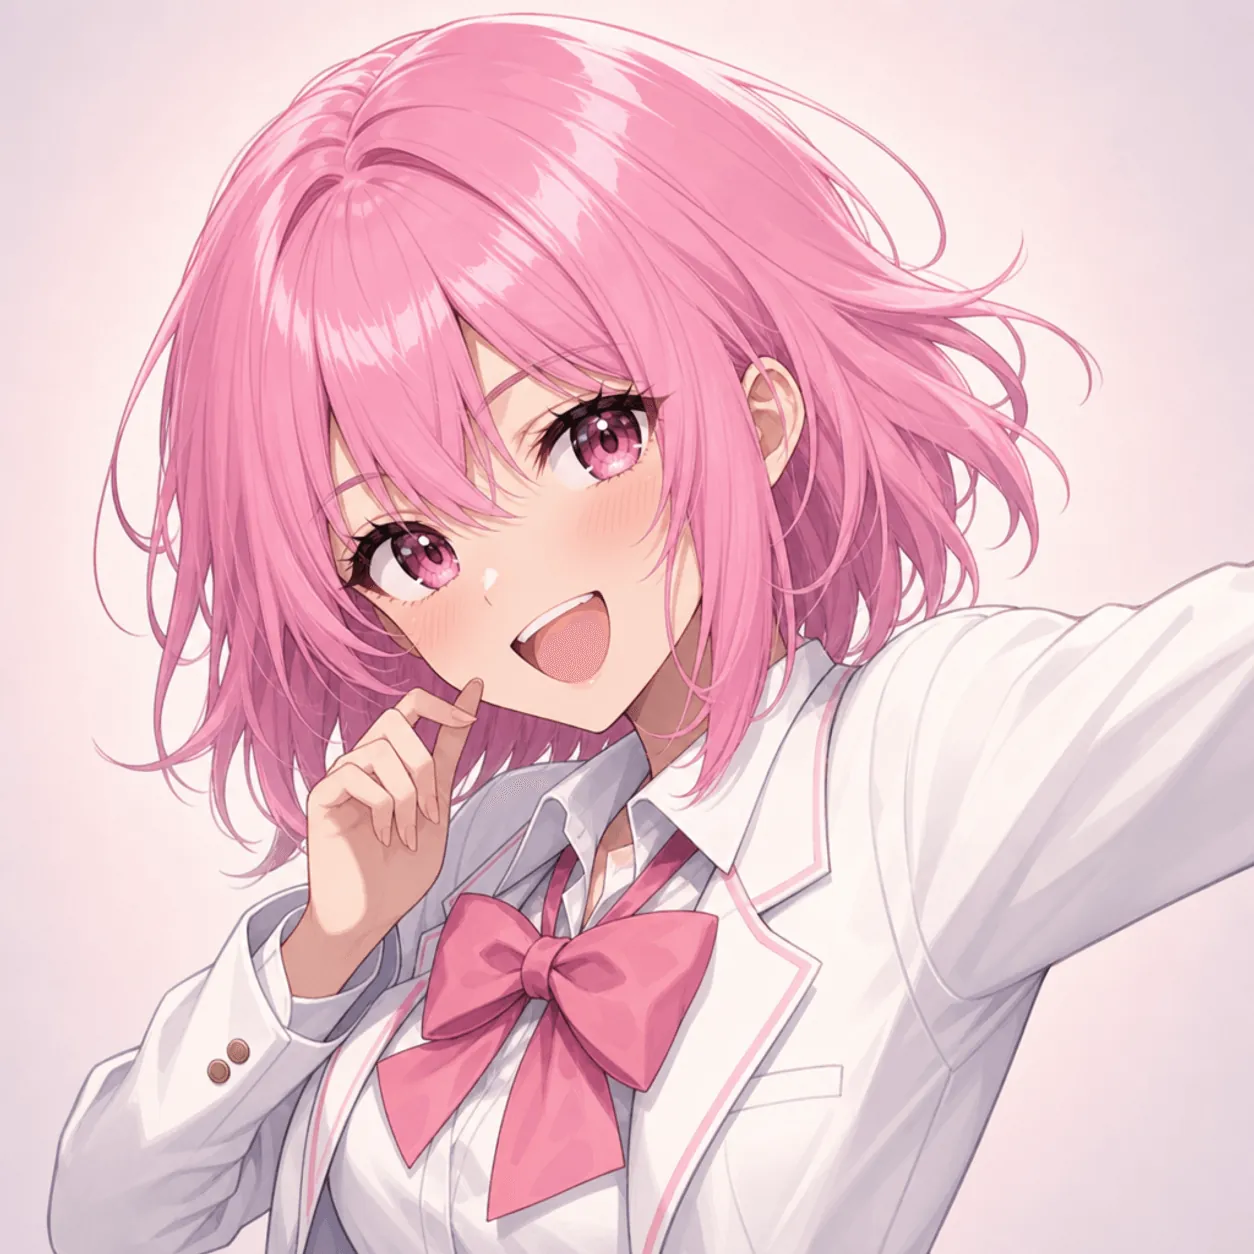
For the shared demo character, the white blazer, pink bow, and light pink backdrop are a deliberate example. They keep the subject readable without relying on a black outline. This is a source-design choice, not a guarantee that the generated output will preserve the exact colors.
7. Be careful with text, logos, and tiny accessories
AI image generation is not a reliable way to reproduce small text, logos, interface symbols, or intricate jewelry exactly. If a word or emblem must remain accurate, add it after generation in an image editor rather than making it a critical part of the source.
The same caution applies to professional asset pipelines. A Pixelize result can be a playful avatar, stream graphic, personal design experiment, or starting point for a small sprite concept. If it will enter a game or client project, review the silhouette, transparency, dimensions, palette, licensing, and frame-to-frame consistency yourself.
Using a real portrait safely
AniPixel’s visual examples use a shared demo character, but Pixelize can also accept portrait photos. Only upload photos you own or have permission to use, obtain consent from people shown, and avoid sensitive or private images.
Uploaded images and related prompts are sent to third-party AI providers for generation. Stored results may appear in History for about 7 days free, 30 / 90 days on Basic / Creator, and long-term on Pro. Review the Privacy Policy and Terms of Service before uploading personal material.
A controlled test is better than guessing
When comparing source preparation choices, keep the generation setup consistent:
- Choose one source change, such as a closer crop.
- Keep the preset, aspect, colors, Quality, and background settings the same.
- Generate one result from each source.
- Compare composition and readability before small details.
- Keep the source that produces the more useful direction.
AI variation means a single pair is not a scientific benchmark, but controlled changes still teach you more than moving every setting at once.
Source-image checklist
Before opening Pixelize, check five things:
- I own this image or have permission to use it.
- The intended subject is obvious at thumbnail size.
- The subject is neither tiny nor accidentally cut off.
- Blur, compression, text, and background clutter are not hiding important shapes.
- The framing roughly matches the avatar, portrait, or scene I want.
If those five checks pass, generate a baseline before doing more preparation. A clear source, one suitable preset, and one controlled adjustment are usually more useful than a long chain of speculative edits.