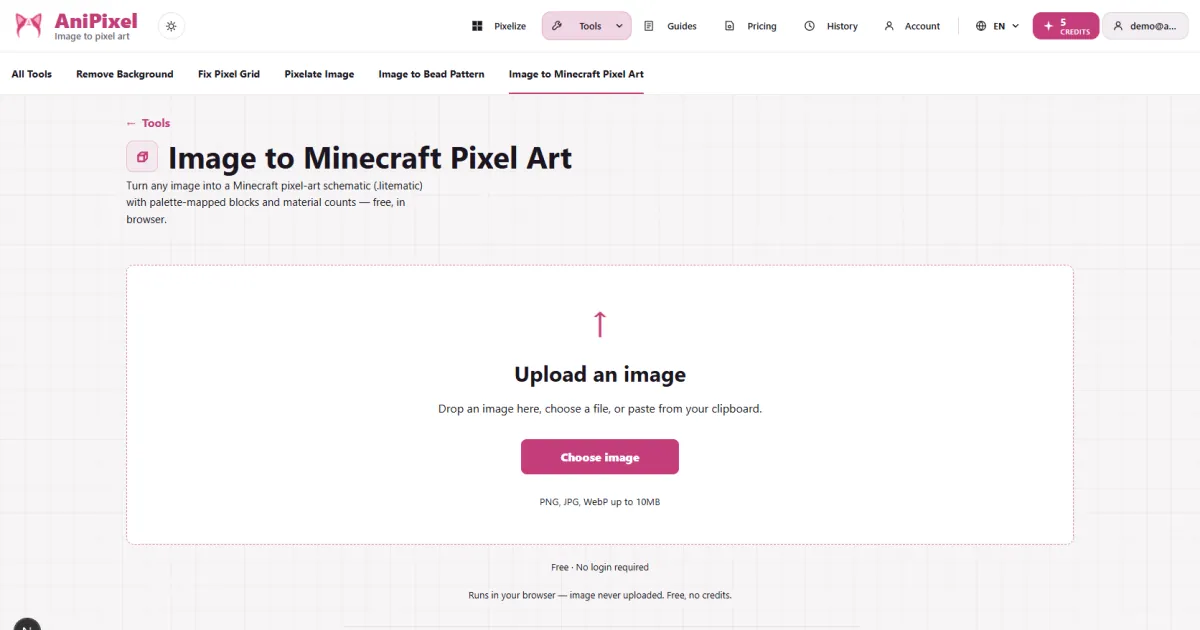
Image to Minecraft pixel art means turning a normal picture into a buildable layout of Minecraft blocks, one logical pixel per block. AniPixel's free Minecraft pixel art converter does that in your browser: upload a JPG, PNG, or WEBP, set the width and height in blocks (16–2560 each), pick a palette, and export a .litematic schematic — or a 1×1 split .zip — to build in-game with Litematica or block by block. It runs entirely on your device: free, no account, no credits, and the image never gets uploaded.
Quick path
- Open Image to Minecraft Pixel Art.
- Upload your picture (JPG, PNG, or WEBP, up to 10MB).
- Set width and height in blocks. For map art set both to a multiple of 128; otherwise any size from 16 to 2560 works.
- Pick a palette — Map art for colors that survive the map item, or a block palette for directly-viewed builds — and turn dithering on for photos or off for flat logos.
- Export a
.litematic(paste with the Litematica mod) or a 1×1 split.zip, then build — flat on the ground or as a wall.
Minecraft map art or a block wall?
"Minecraft pixel art" covers two different things, and they want different settings.
| Goal | How to build it | Size in blocks |
|---|---|---|
| Map art — the picture is viewed through a map item or a map wall | Build it flat on the ground, then capture it with an empty map | Width and height must be multiples of 128 to line up with the game's 128×128 map grid |
| Block wall / floor mural — the picture is viewed directly, no map | Build flat or vertical as a wall | Any size from 16 to 2560 |
| Photo-real map rendering that keeps the map's own colors | This tool gives you the block floor plan; see the honest caveat below | Multiples of 128, built flat |
The tool's settings panel tells you when you are map-ready: set both width and height to a multiple of 128 and it shows the result as an N×N map art.
Size in blocks: 1 pixel = 1 block
Every logical pixel in your picture becomes exactly one block. That is the whole translation — there is no hidden scaling, so the width you type is the number of blocks you place.
- A single in-game map covers a 128×128 area at its default zoom, so a full one-map artwork is 16,384 blocks.
- 256×256 is a 2×2 map wall, 384×384 is 3×3, 512×512 is 4×4.
- Set both width and height to a multiple of 128 and the converter shows the map-art hint; the 1×1 split
.zipthen downloads each 128×128 map tile separately, which is exactly the grid you build and capture per map. - For a directly-viewed wall or floor mural, you are not tied to 128: any size from 16 to 2560 blocks works.
Pick a palette and dithering
The palette decides which block colors the converter is allowed to choose from:
- None: no mapping — the preview shows the original image, handy for comparing the source to a converted result.
- Carpet: thin dye-colored blocks, good for a low flat build.
- Easy to get: wool, concrete, terracotta, carpet, stained glass, and a few natural blocks — the survival-friendly defaults.
- All blocks: the full block set (~199) for the closest possible color match, at the cost of a much longer shopping list.
- Map art: matches the 61-color flat map-art palette (a subset of the game's base-color set), for map-art-sized flat builds. Each color uses a block you own — exclude a block and it re-maps to the next candidate.
Dithering is the tool that fakes extra shades for gradients. For photos with smooth gradients, turn on Floyd–Steinberg — the classic error-diffusion dithering algorithm that spreads each pixel's rounding error into its neighbors to keep gradients smooth (Floyd–Steinberg dithering, Wikipedia) — the usual first pick. For logos, flags, or flat art, leave dithering off so the hard edges stay clean.
Two more levers worth knowing: Smart reduce drops sparse speckle blocks so the final list stays buildable, and you can click any block chip to exclude it from matching (for example, drop stained glass if you do not want it in a survival build).
Build it flat or vertical
The .litematic export supports two orientations, picked before you download:
- Flat lays the image on the ground — x = width, z = height. This is the map-art build: one layer of blocks, captured by a map from above.
- Vertical stands the same image up as a wall — x = width, y = height. Good for murals you want to see while walking past.
With the Map art palette selected, exports are flat only — a vertical wall cannot be captured by a map.
Use the material counts to gather blocks before you start (one logical pixel = one block), and open the material render preview to see the finished look before committing. In survival, start with a small test section — a 16-block strip in your chosen palette reads the same as the full build and catches surprise color shifts early.
Map-art palette or block colors?
The tool offers a Map art palette that matches what the map item actually renders, so this is a choice, not a limitation.
| Palette | What it matches | Build it | Best for |
|---|---|---|---|
| Map art | The 61 base colors a Minecraft map renders | Flat only; width and height multiples of 128 | Art you hang as a map or a map wall |
| None / Carpet / Easy to get / All blocks | Block colors | Flat or vertical, any size | Builds you view directly |
With the Map art palette, every pixel maps to a map color, and each color is built from a block you own. The default picks a survival-friendly block per color (wool, concrete, terracotta, then natural blocks); click a block chip to exclude it and that color re-maps to the next candidate until you are happy. Because the map draws from its own palette, the preview shows the map colors, not the block textures.
Two honest notes:
- Minecraft maps render each block from a fixed set of base colors — 62 in current Java Edition, of which this tool's flat map-art palette matches 61 — and each base color has four brightness shades, multiplied by 0.53, 0.71, 0.86, or 1.0 (Map item format, Minecraft Wiki). Which shade a pixel shows depends on the block's height relative to the block north of it — that is why serious map artists step rows up and down for brighter and darker shades. This tool matches the flat base colors; the Minecraft Wiki map page is the reference for the exact palette and shading rules.
- The tool still does not generate or edit
map.datfiles. For photo-grade staircase map art or direct map-file output, a dedicated map-color converter is a different workflow.
Common failures
- Source too detailed. A busy photo at 32–64 blocks wide turns into a muddy average. Trim the source to the subject in any editor before upload, or lower your expectations for small grids.
- Map art that is not a 128 multiple. Width and height must both be multiples of 128, or the build will not line up with the map cells and the captured map will be off-center or split.
- Starting too big. 2560×2560 is 6.5 million blocks — a weekend project with help, not a first try. Start at 64×64 or 128×128 and scale up.
- Transparent PNGs. Transparent areas become empty air cells. If that is not what you want, fill the background before uploading.
- Confusing this with pixelization. This tool maps pixels to real Minecraft blocks. If you wanted the classic photo-to-pixel mosaic look instead, use Pixelate; if you wanted AI redrawn pixel art, that is Pixelize.
- Planning a map with the wrong palette. If you intend to hang the result as a map, choose the Map art palette so the colors survive map rendering; the block palettes match what you see in the world, not what the map draws.
Next steps
- If the block result has soft or wobbling pixel edges, Pixel Art Scaler recovers the true grid or upscales without blur.
- New to converting images to pixel art? Start with the Pixelize getting-started guide.
- The converter itself runs free in the browser — open Image to Minecraft Pixel Art.